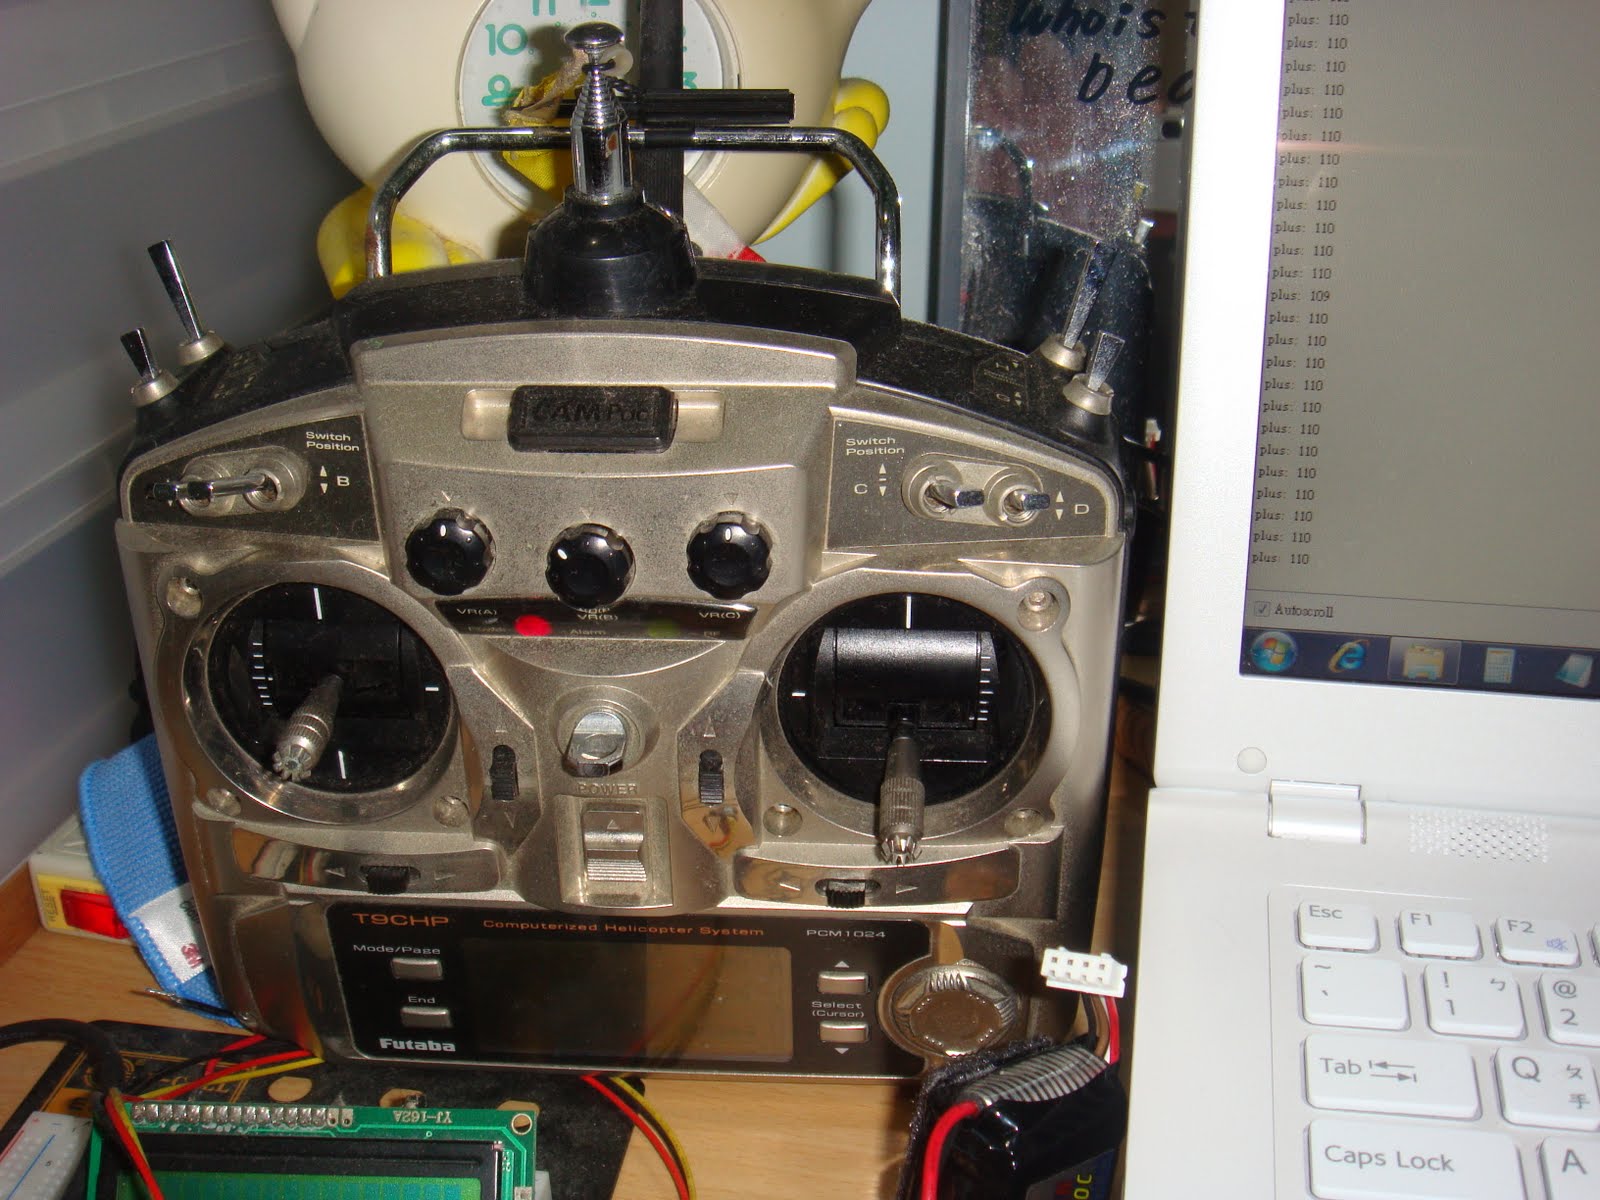
// 程式碼 //
int ledPin = 13; // LED connected to digital pin 13
int PhotoSPin = 0; // Photosensitive connected to digital pin 0
int Analog_val =0; // Photosensitive Val
void setup()
{
Serial.begin ( 9600 );
pinMode(ledPin, OUTPUT); // LED
pinMode(PhotoSPin, INPUT); // Photosensitive
}
void loop()
{
digitalWrite(ledPin, HIGH); // set the LED on
delay(Analog_val); // wait for a second
digitalWrite(ledPin, LOW); // set the LED off
delay(Analog_val); // wait for a second
Code:
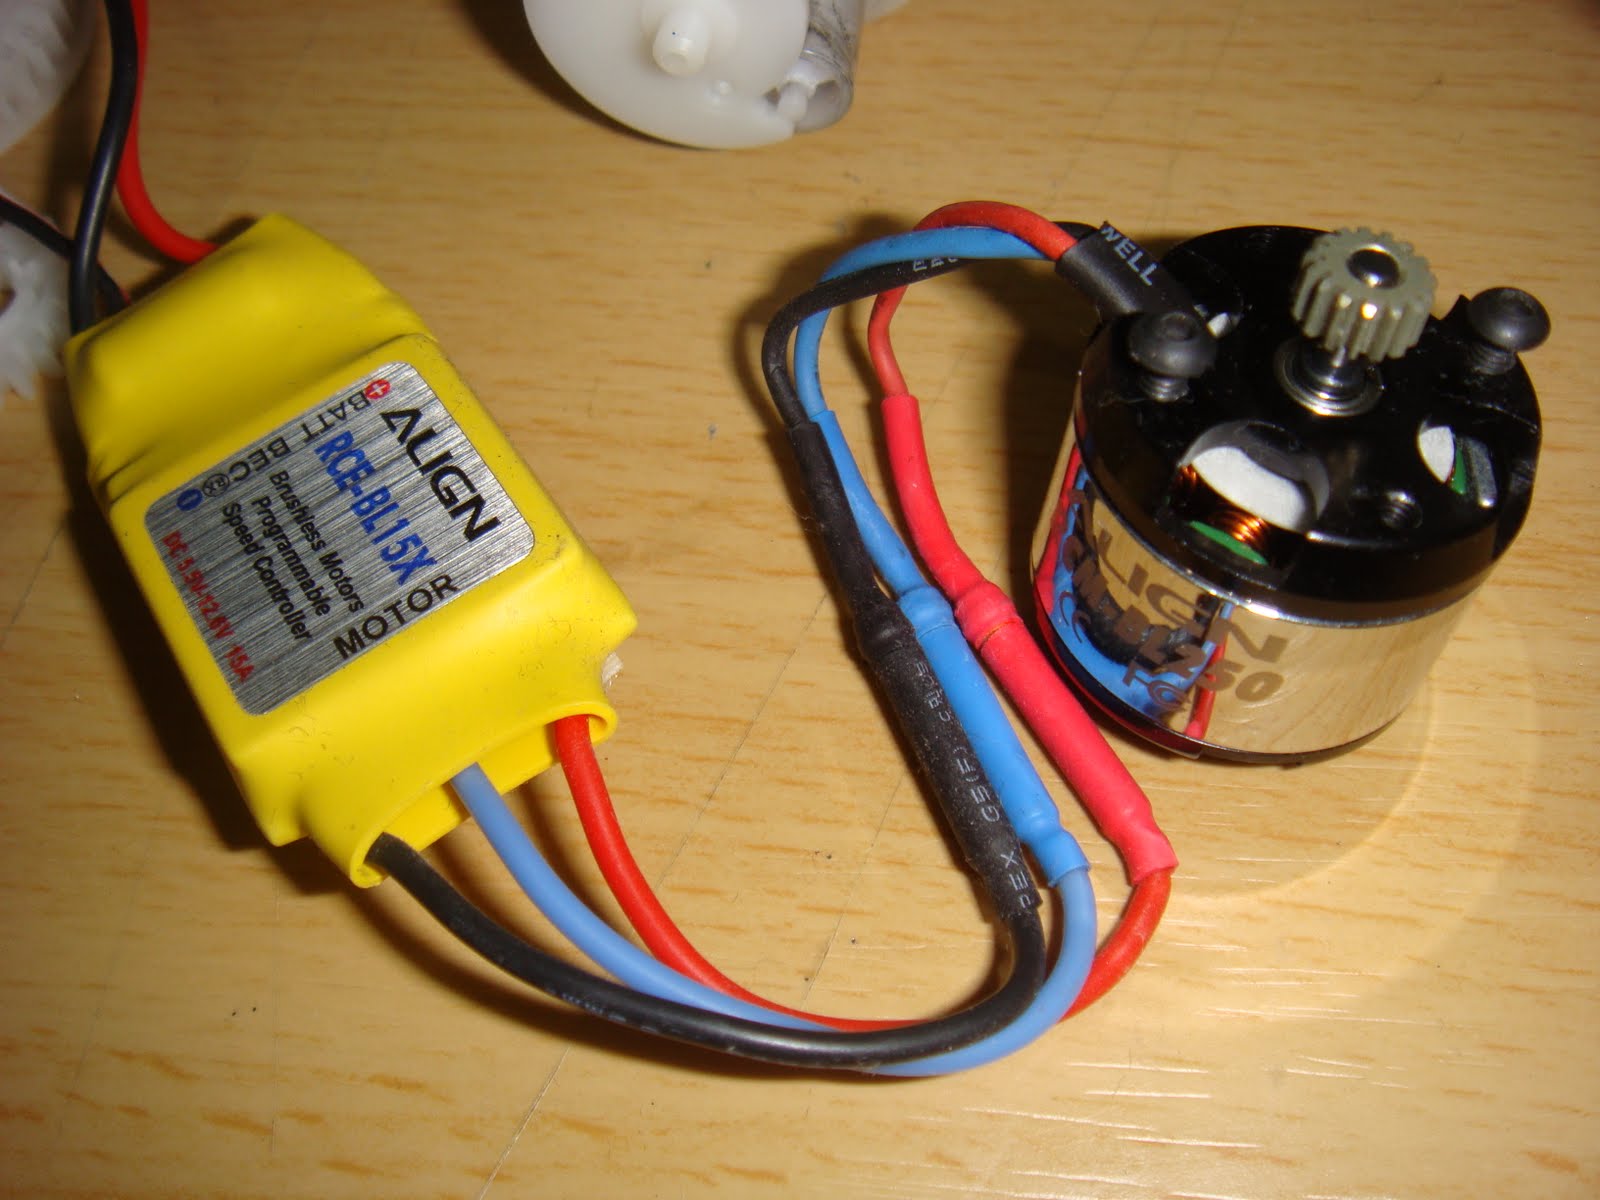
// 程式設定ESC 狀態
void AdjustESC ()
{
//plug ESC Battery first, when ESC start music ready, enter "1" in serial window
Serial.println("Enter Setup Mode");
do{ if ( Serial.read() == '1' ) break;
setSpeed(90);
} while(1);
delay ( 2000 );
setSpeed(30);
// waiting for ESC edit mode music and into brake edit mode,
// then enter "1" in serial window
Serial.println("Break Mode - soft Brake");
do{ if ( Serial.read() == '1' ) break; } while(1);
setSpeed(50);


 發表於 2009-1-27 01:49:31


 收藏
收藏 分享
分享 樓主
樓主